The world of ready-to-run RC drift chassis is a bit of a minefield. Most enthusiasts will swear by kits, hand selecting the best components for their needs and spending hours building them from scratch. However this isn't an option for all of us. Aimed at novice drifters, Kyosho offer the Toyota Supra-bodied Fazer T1; lets take a closer look at this drift car for beginners.
The Fazer T1 at a glance
- Ready-to-run shaft driven 4WD chassis
- Scale Toyota Supra body complete with vivid graphics
- Quality, adjustable Syncro transmitter
- 7.2v 1800mAh Ni-MH battery with trickle charger
- 20-turn brushed motor with LiPo compatible 45A ESC
- Waterproof servo that delivers light steering feel
- Resin drift tyres mounted to multispoke wheels
- Factory ball-raced to minimise transmission losses
- Double-wishbone suspension with oil shocks front and rear
- 45cm long, 21cm wide and 1.7kg in weight
What's in the box?
A ready to run model, all you will need to bring to the party is a pack of 4 AA's for the transmitter. The box includes the pre-built chassis (with body already mounted and pinned), battery, trickle charger, transmitter, manual, spares and tools.

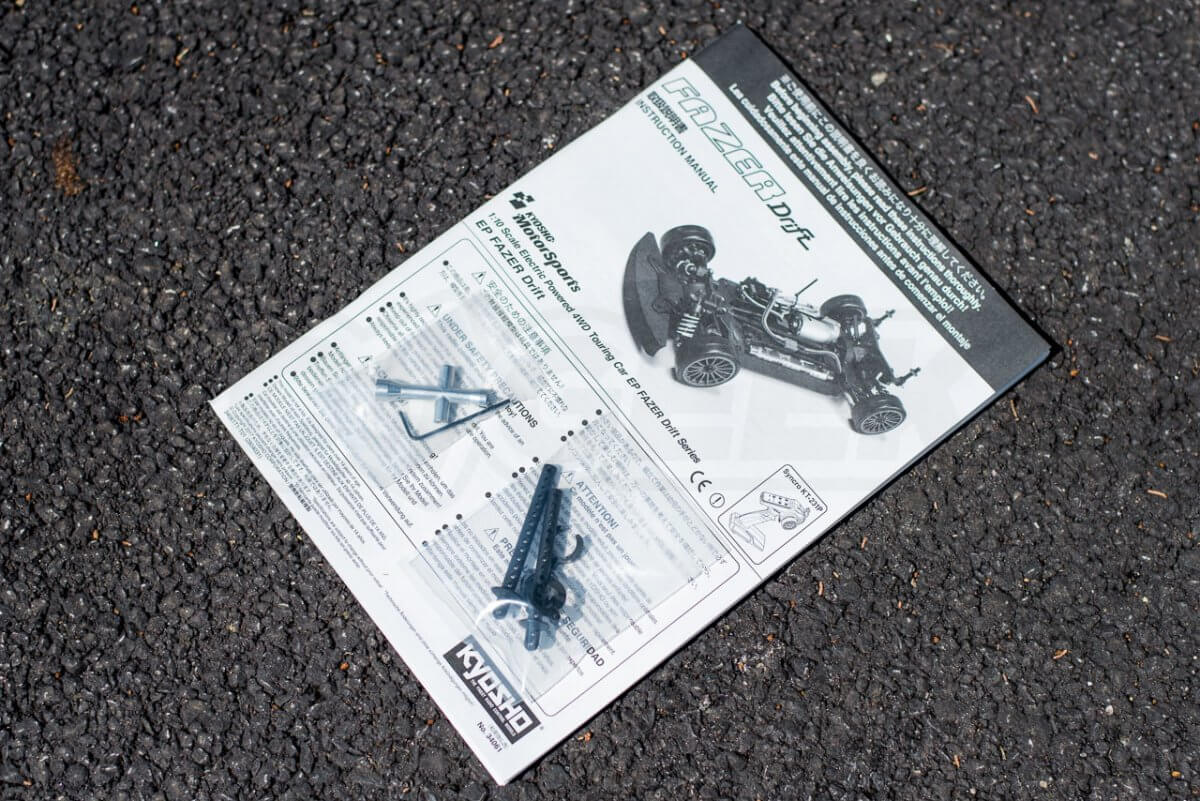
Kyosho do provide a fantastically detailed manual to explain how to setup and run the car. It also has a series of exploded diagrams that will help you repair the model should you need to replace any parts. Spare shock spacers and a pair of body posts are included with the model, as is a basic allen wrench and a wheel removing wrench.
Shaft-driven 4WD chassis
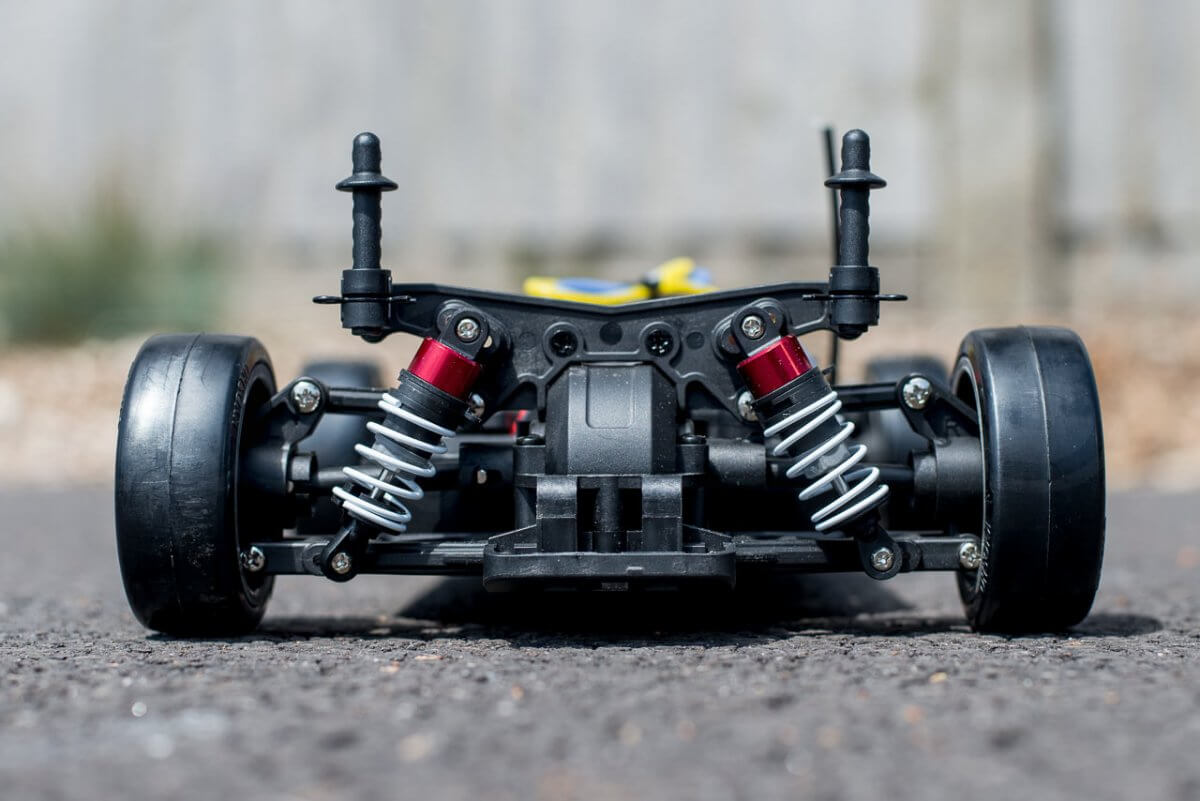
The majority of components sit in an impact-resistant resin 'bathtub'. The drive-train is ball-raced (proper metal ball bearings instead of plastic) to minimise drive-train losses. The driveshaft connects the front differential to the spur gear and differential at the rear, there are no complicated gearboxes here. From above you can see how the setup runs minimal camber but does have some toe in, both front and rear.
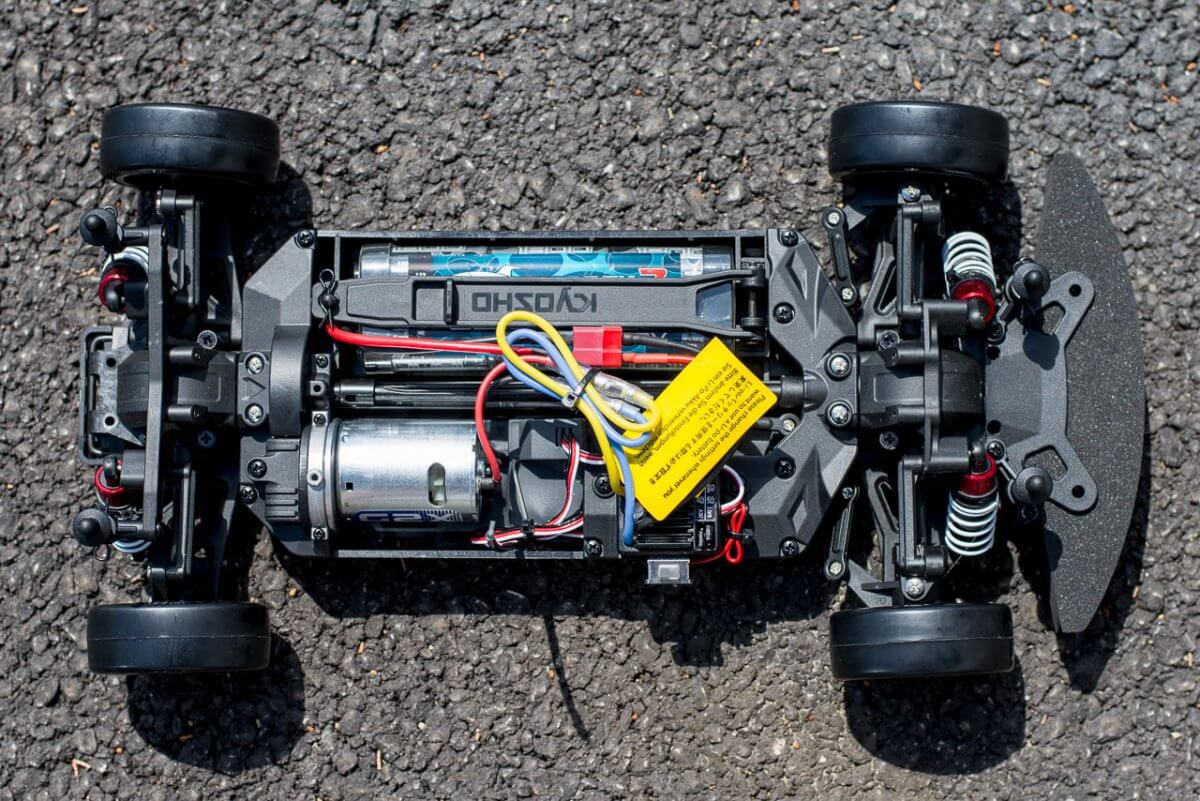
A large (removable) foam bumper is mounted at the front for impact absorption should you misjudge a turn. The lower arms feed the hubs via fixed rods, they also feature a basic stabiliser bar mounted inboard. The steering servo and servo saver are tucked behind the front wheels, in-front of the speed controller.
At the rear the lower arms and stabiliser design is largely mirrored, foregoing any rear bumper. The oil shocks front and rear can be adjusted for ride height by adding spacers, as opposed to threaded bodies found on other models.
The chassis is completed with hard resin drift tyres, pre-mounted to grey multi-spoke wheels. These use the standard 12mm hex mounting (and a 4mm wheel nut) so can easily be swapped out should you not like the aesthetic.
Toyota Supra Body
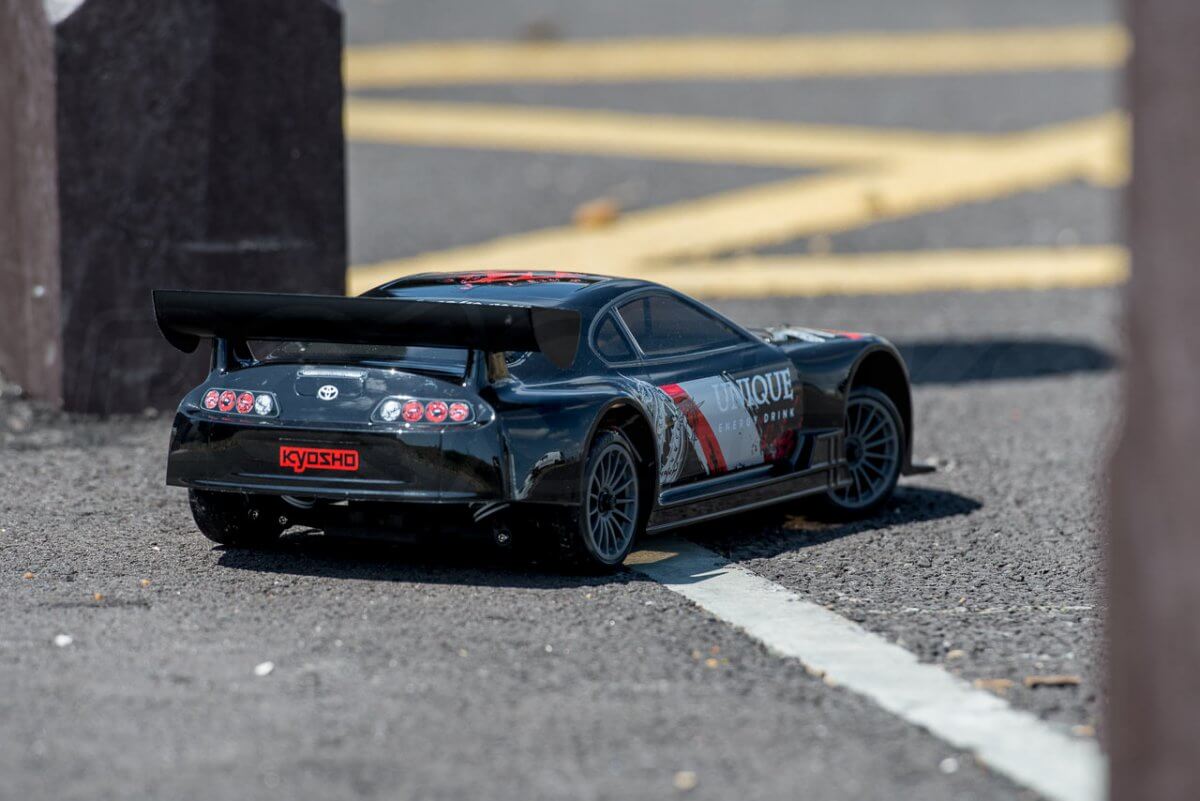
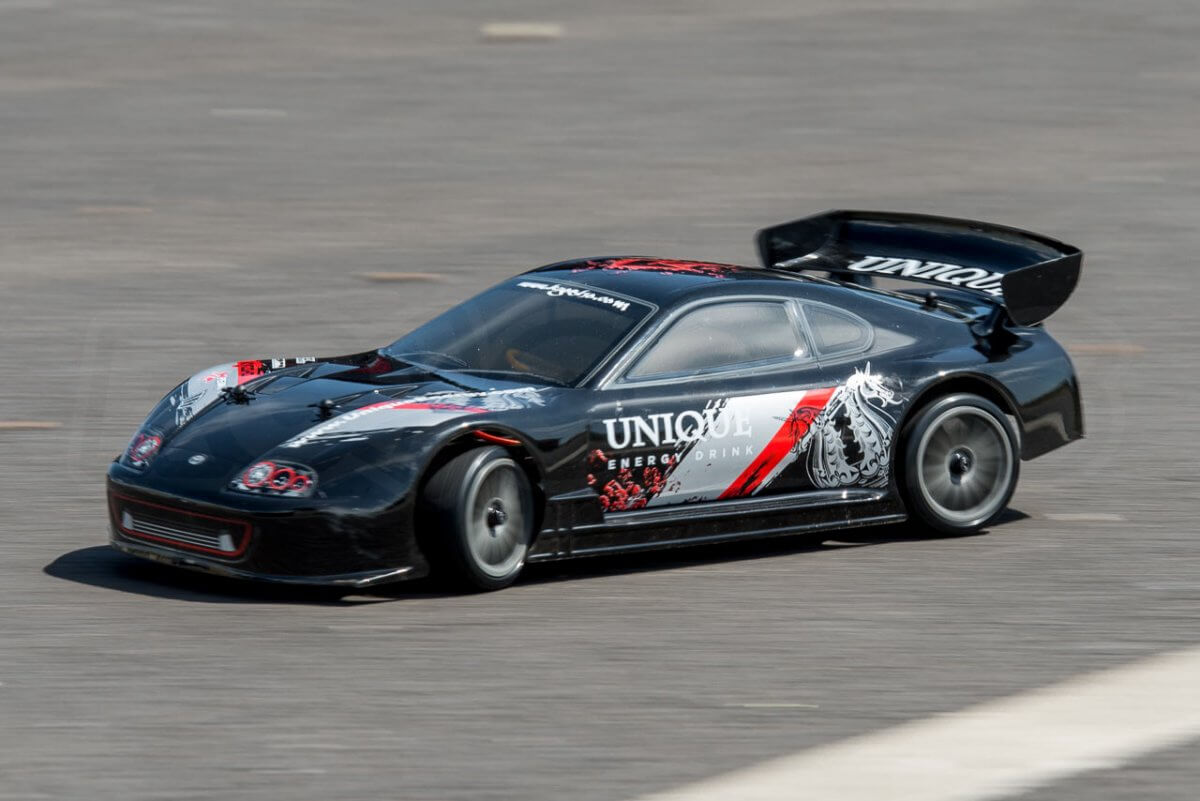
The package includes a factory painted, trimed and sticker'd body. It is up to the usual Kyosho quality with aero mouldings heavily tinted windows, nicely detailed decals, (fully licensed) but limited 'relief' detail.
The body sits on adjustable posts and if you intend to drive indoors, we'd suggest dropping it down a notch to lose the large arch gap it leaves the factory with.
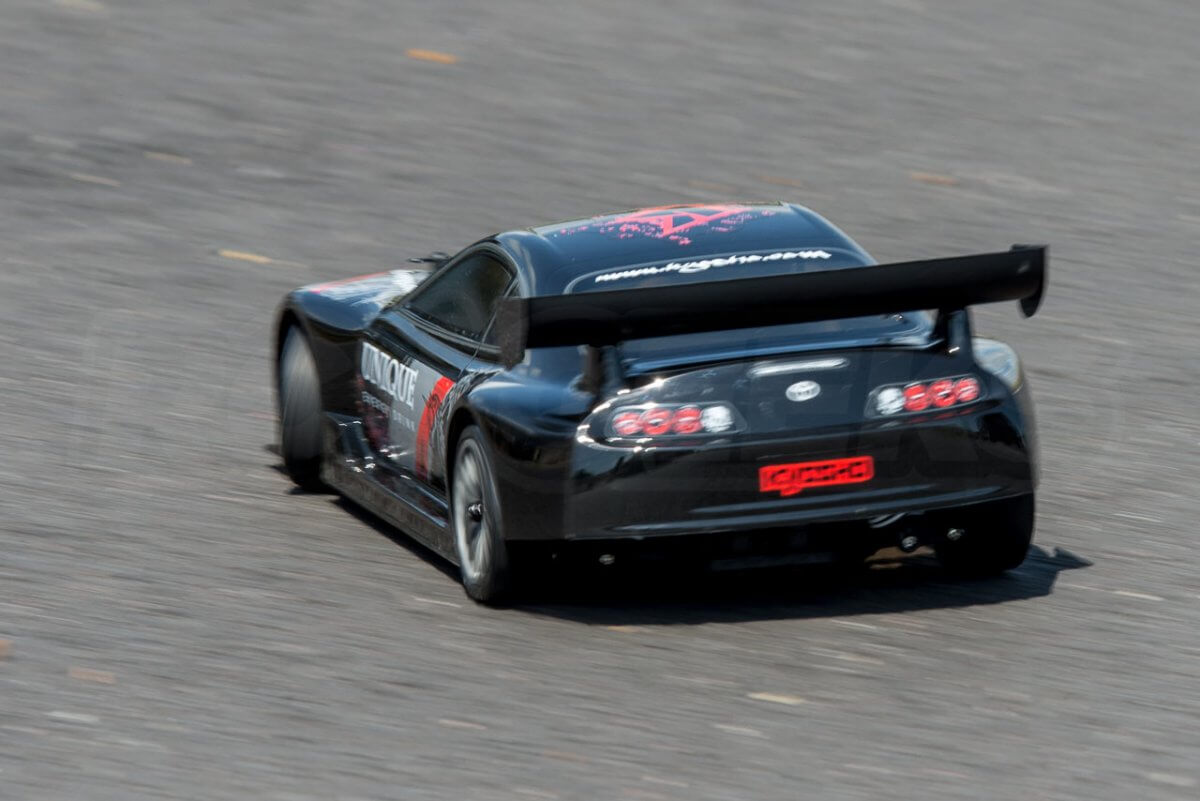
We do love the oversize wing sat on the back (which does actually push the rear of the body down on the move) but wish they had included some canards, front and rear diffusers, or just some nice light buckets alongside it.
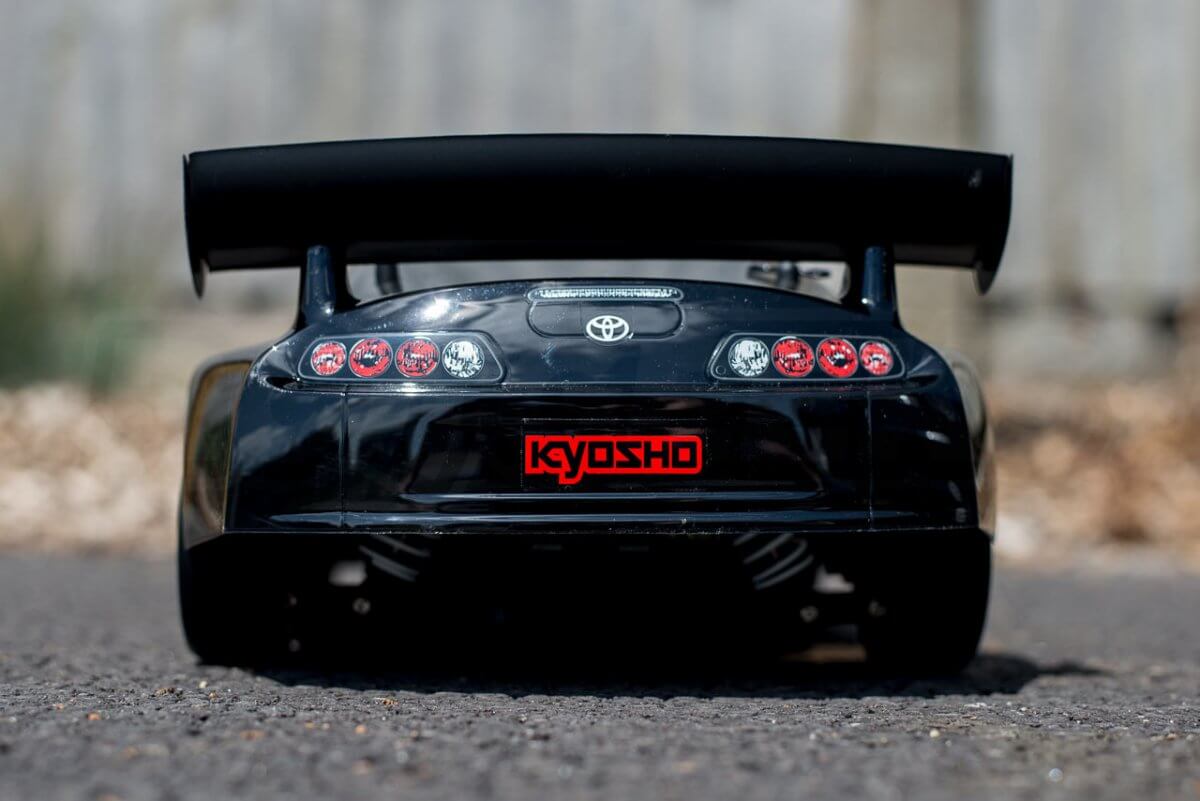
The rear end is certainly the best angle on the body showing off those wide arches, huge spoiler and those signature rear lights.
Quality Transmitter included
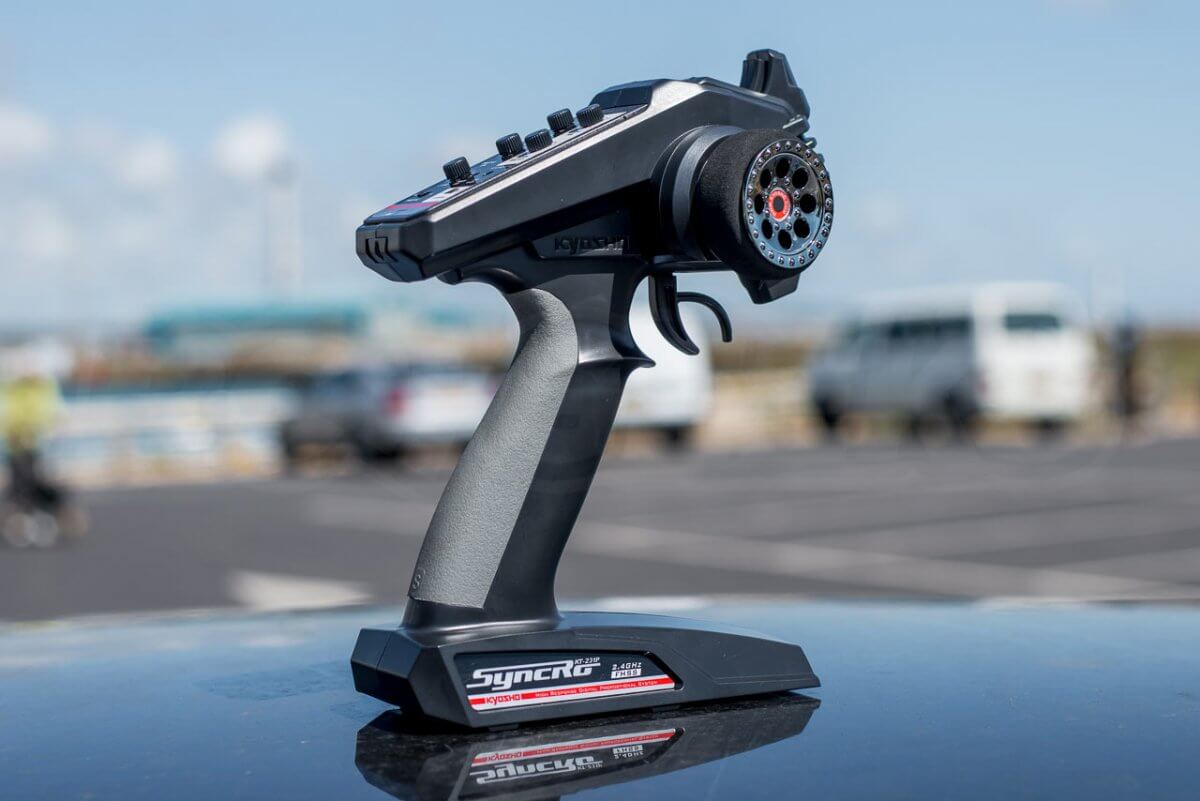
The included Syncro KT-231P transmitter is a solid unit for a relatively budget model. The padded steering wheel is angled and the rubberised trigger grip make it comfortable to use for extended periods. The hard plastic is solid enough to take a few drops although we would have liked to see a lanyard clip/hole. It runs off of four AA batteries (not included) which are housed in the base for a even weight balance. Whilst it does include a fail-safe, in our testing we never lost signal.
It features the usual pots for adjusting throttle trim, EPA and reverse position as well as steering trim, dual rate with reverse switches for both channels. We particularly liked the bias switch for the throttle which gives you finer control of the throttle (useful for drifting) by extending trigger travel at the loss of brake/reverse control finesse.
Basic electronics do the job
If you have read our review of the Kyosho Outlaw Rampage you will be familiar with this battery/charger/esc combo. Whilst its great to get all of this included, the trickle type charger will take 6 hours to fill the included 1800mAh NiMh battery.

As such we’d recommend bringing along a second (or even third) battery to maximise your run-time. The included 45A Vortex WP Brushed ESC will accept both NiMH and LiPo batteries, the later up to a 2S (7.4v) limit.
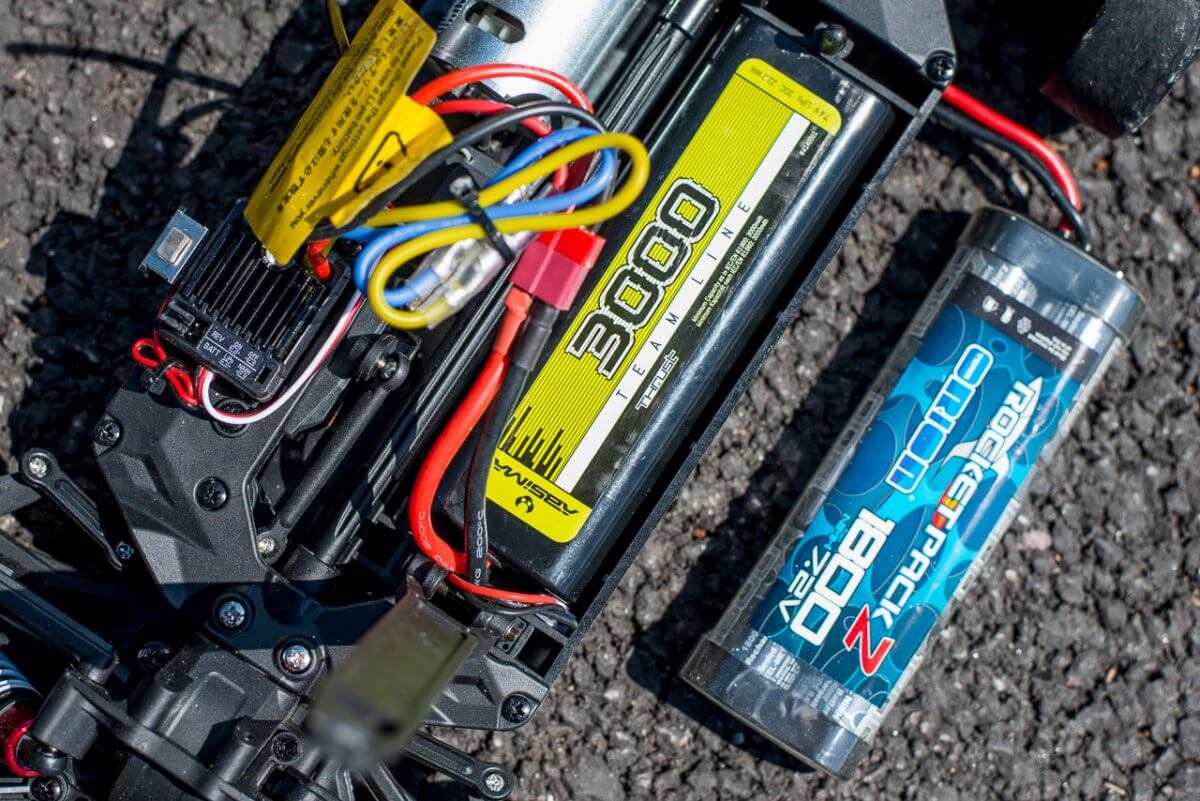
Note that to run a 2S LiPo as we did above, you will need to move the outer jumper over to the ‘LiPo’ setting before connecting the battery. The battery tray is suitable for the normal 'stick' type batteries and whilst the latch has a secondary 'higher' levering point available you will struggle to get larger hard-case style cell in here.
The ESC is terminated with a ‘deans’ style battery connector which is one of the more commonly used plugs, making sourcing additional batteries straightforward.
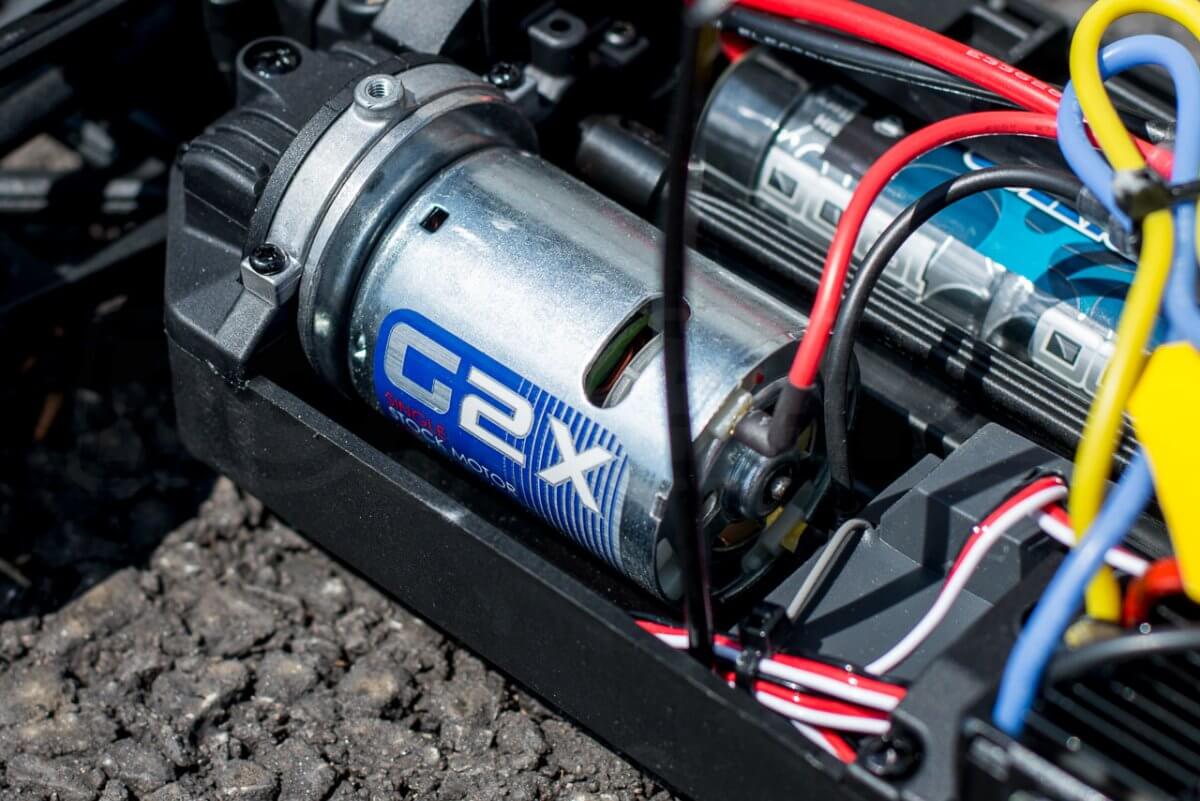
The included 20T stock (540 size) brushed motor gives a good balance of power and torque, responsive enough to get the car sliding and hold it there. The chassis makes it very simple to swap out should you want to upgrade.
Drifting the Toyota Supra
The Fazer makes for a good starter drift car. Once you have run a few batteries through it and adjusted the transmitter for greater throttle 'throw' it will hold a power-slide and transition relatively easily. As you can probably tell from the spec, it isn't going to light the floor on fire, but the we always suggest starting with a lower-power model to learn the basis of car control in a slide.

For a drift-focused model we found the steering lock really poor, even after experimenting with the trims and dual rates. Out of the box, our model had a very damped steering setup with slow return; not ideal for drifting! This could be the servo saver design or just the rather weak 4kg servo that it ships with as standard.
Whilst we weren't fond of the wheels, we did like the tyres. They are suitable for outdoor use (As seen, on smooth tarmac in our photos) but as ever they drive the best on the sort of shallow-pile carpet you find in an office or a purpose built rc drift circuit.
Yes, the ESC does support LiPo batteries, but in our opinion the resulting extra 'punch' you get from using such a power source didn't improve the drifting experience. If you aren't intending to upgrade, we'd actually suggest sticking with (cheaper) NiMH batteries for using this model.
Again this model is aimed at the novice. The chassis has very limited adjustability. More expensive models will give granular camber adjustment, no alternate suspension mounting points, tie-rods for adjusting suspension geometry and much more.
What are the alternatives?
Read-to-run alternatives at this price are a little limited. If price is the key metric then FTX's Banzai offers much of the Kyosho model's performance for a fair bit less cash, however we couldn't comment on the longevity of it. A stronger competitor (currently offered for the same money) would be HPI Racing's Nissan S13' bodied E10, but it is a model that could be discontinued soon.

If you have the time and inclination for a kit build, the 3Racing Sakura D4 chassis' (also available in RWD) are the superior choice. With careful selection a pack of electronics on-top of the price of the chassis will be comparable in price, whilst offering greater out-of-the-box adjustability and a huge selection of high quality upgrades.
Where can I buy the Toyota Supra Drift car?
Kyosho's Fazer T1 is available now on our webstore. As mentioned the standard charger is pretty poor. We'd recommend picking up a 'fast' charger such as this model from Overlander. In our opinion the NiMH battery is enough for some controlled sliding, but we'd go for one with more capacity for more runtime. This 3300mAh unit, again from Overlander is ideal and already fitted with the compatible deans connector.

RC Geeks : RC Drifting Enthusiasts
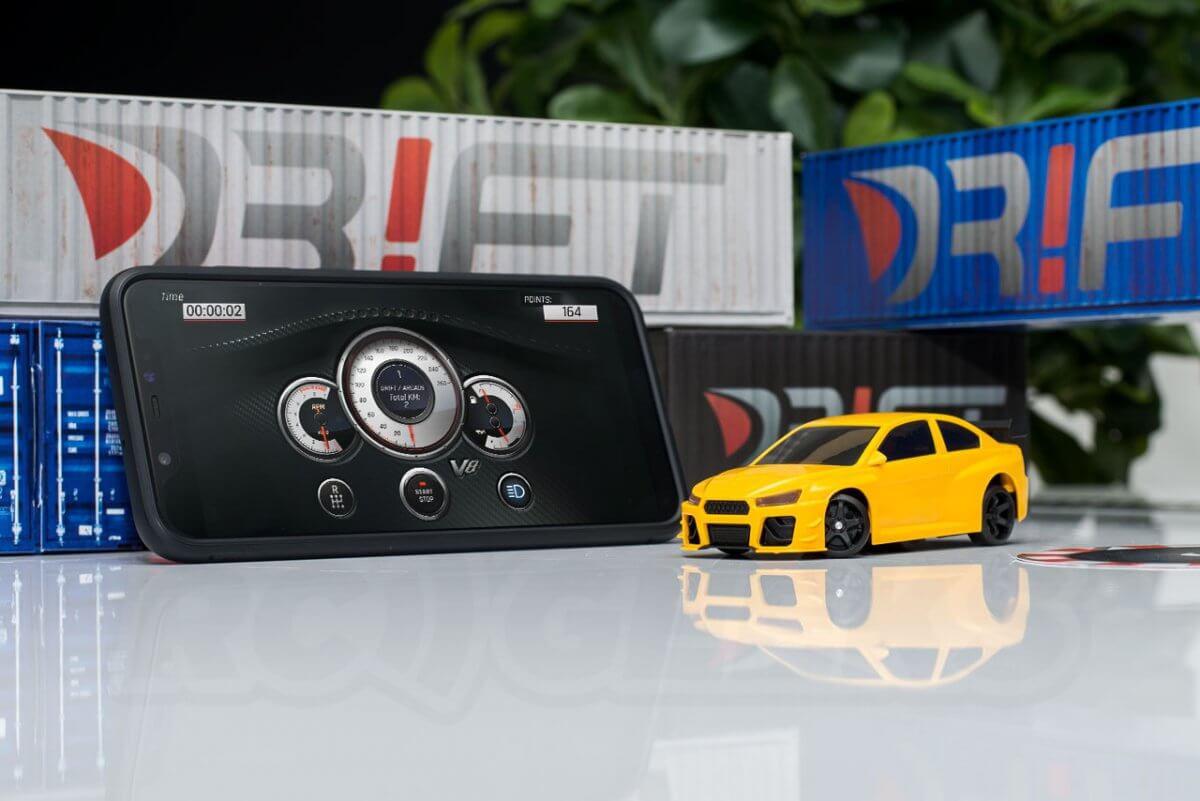
We've been 'into' drifting for many years now and our blog is full of drift-related content. For something a little different see the Sturmkind app-controlled desktop drift car review. Also see our introduction to Kyosho's other drift models.
Check our build blog of the Sakura D4 AWD from a few years ago. If you really like the kit build blogs then try parts one, two and three of our Sakura D3 CS build from 'back in the day'.
Do you have any questions about the Fazer T1? Perhaps you want to see us review more drift gear? Leave us a comment below!


