Tools required
- 1.5mm Hex Driver
- Small Cross-head (PH00)
- Plastic Spudger
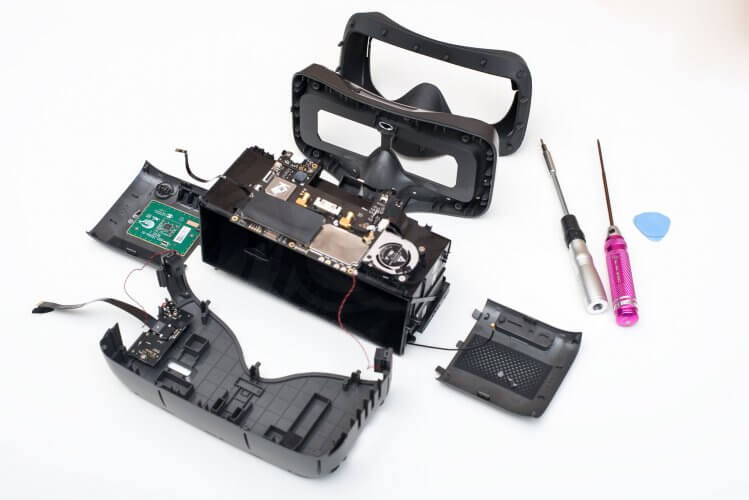
Teardown : Dismantling the DJI Goggles Racing Edition
Inside The DJI Racing Goggles
With the antenna and headband removed, we started from the back of the goggles. The rubber surround is just half in place using rubber pegs that fit into the body of the goggles making it very easy and painless to remove.
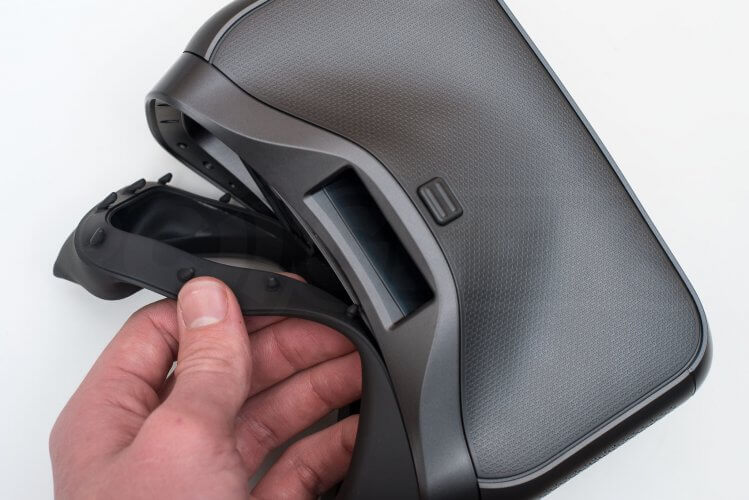
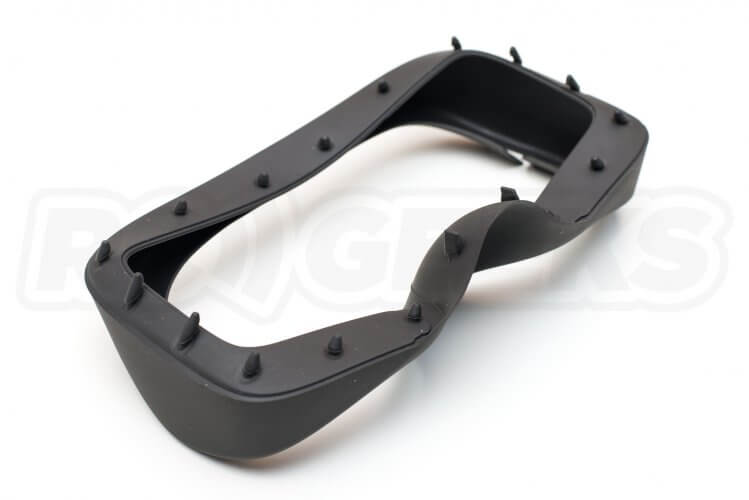 This then exposed the screws to let us get into the back of the goggles.
 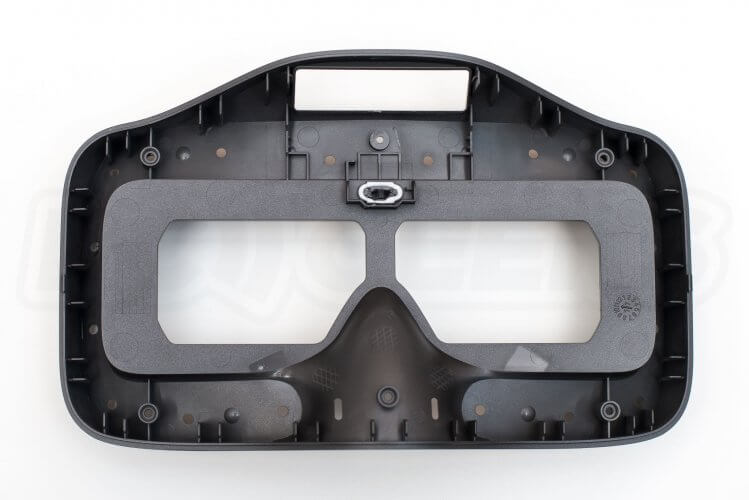 Once the front plate is off, we are given the first glimpse of its insides. Primarily the lens covers in their rubber housing but we can also see the two speakers (one on either side of the goggles) and a few circuit boards in the top section.
 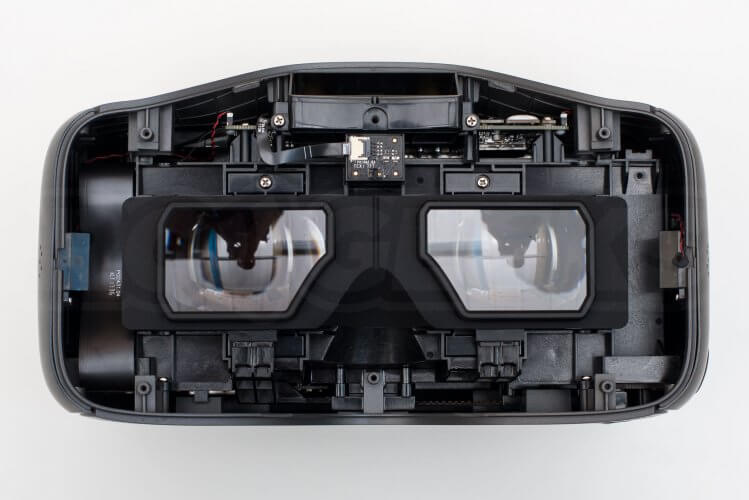 With the eye pieces removed, the main lenses are exposed.
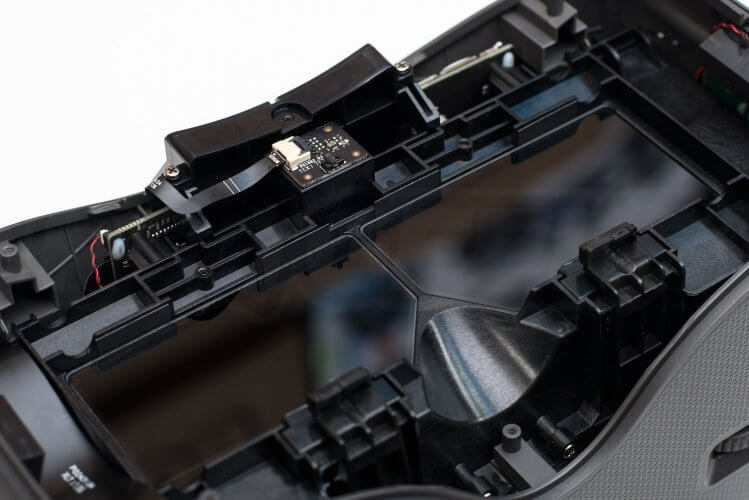
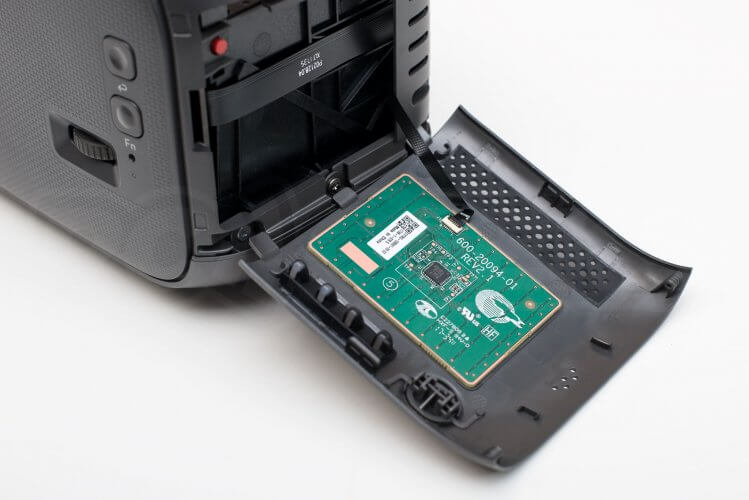
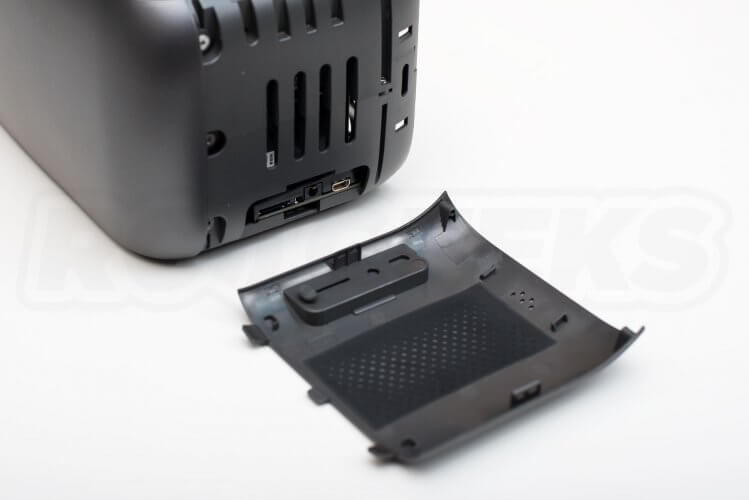
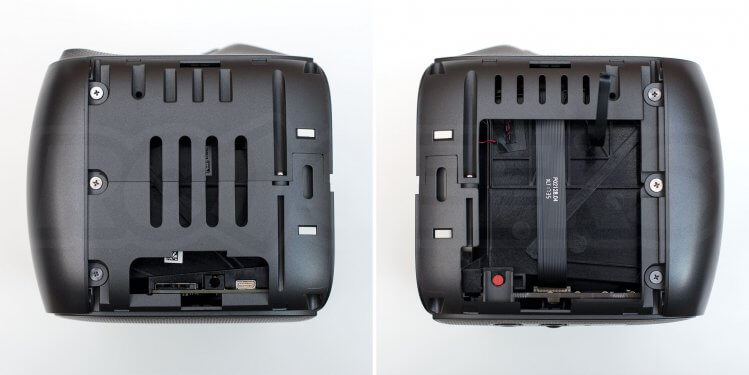
On the other side is the cover for the HDMI, SD Card slot and headphone port. Nothing technical here, just a cover to keep the exterior aesthetically pleasing. A few more clips and screws later we were able to remove the front plate which allowed us to open up the two halves of the shell and reveal the meat of the electronics. 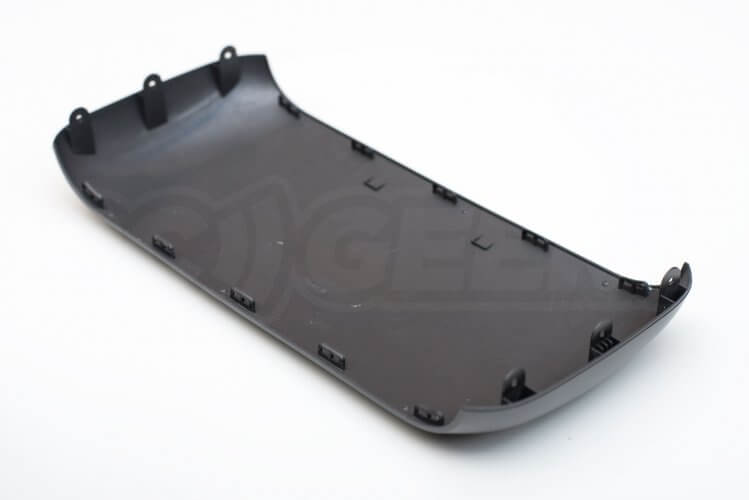 The top half of the shell is made up of very little, consisting of just the antenna port and the housing for the headset connector.

Under the top shell, we are met with the mainboard with the integrated 5.8Ghz video receiver, heatsink and cooling fan.

On the front left of the goggles is the antenna for the OcuSync transceiver.


With the screen removed, we can now access the beam splitter (mirrored glass) held at a 45' angle.


At this stage it can easily be pulled out without having to remove any other components.

There are two 16:9 1920 x 1080 screens. One at the back, favouring the let hand side, and one at the top favouring the right which is then reflected into your eyes using the mirror.

Inside the Camera Unit
Nothing particularly exciting to see here compared to other FPV cameras. Once opened up, we can see it contains the 1280×960p camera and a small circuit board to distribute it's power and relay the data.
 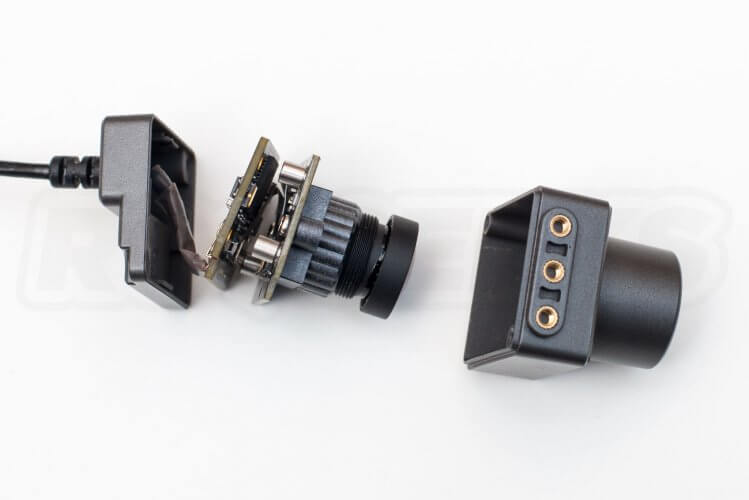 Although the camera is housed in it's neat grey shell, it's still easy enough to take apart and adjust the cameras focus if needs be.
Antenna
Without doing some soldering, we were only able to remove the rubber cover on the antennas. Never-the-less, this is how it looks with the cover off.
Inside the Airside Unit
Again, nothing particularly exciting in here. But for here are our findings for the record.
 With the shell opened, we can see two circuit boards, one in each half of the shell, connected by a single ribbon cable.

 Each held in place with a few screws and thermal compound paste to help draw the heat out.
  If you found this article interesting and would like to see others like it, check out the rest of our Teardown Series on our blog. If you have any questions or would like anything clarified, feel free to drop us a message in the comments section below and we will do our best to get back to you. If you'd like to purchase your own pair of DJI goggles you can do so by going to our store here for the DJI Goggle Racing Edition Combo Pack or here for the Stand Alone Racing Goggles.


